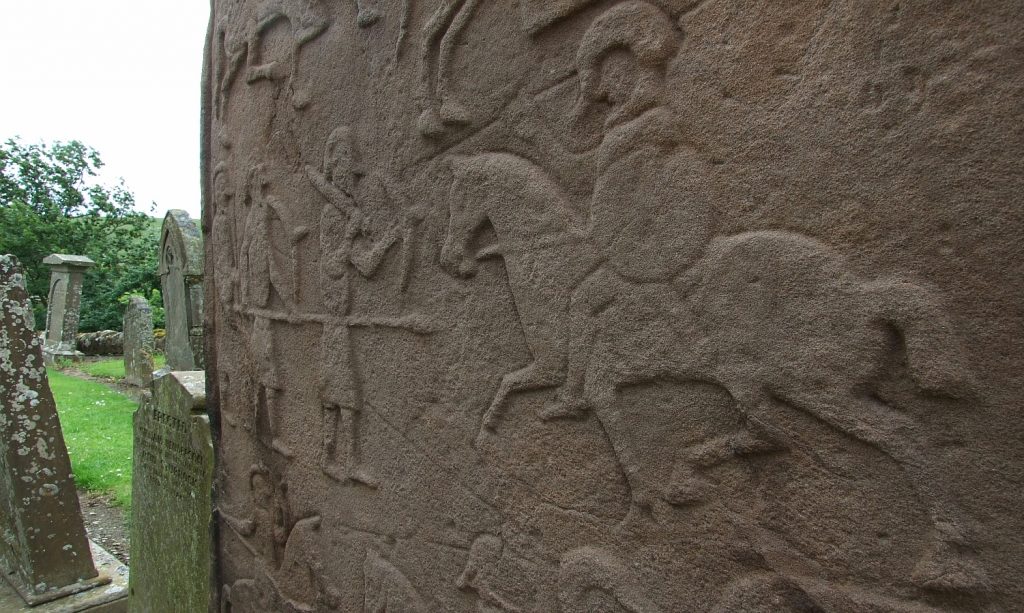
4784110838_cdf0c9b9b2_o Battle detail [from Aberlemno 2] by Stuart Anthony via Flickr, CC BY-NC-ND 2.0